SOD INSTALLATION OTTAWA
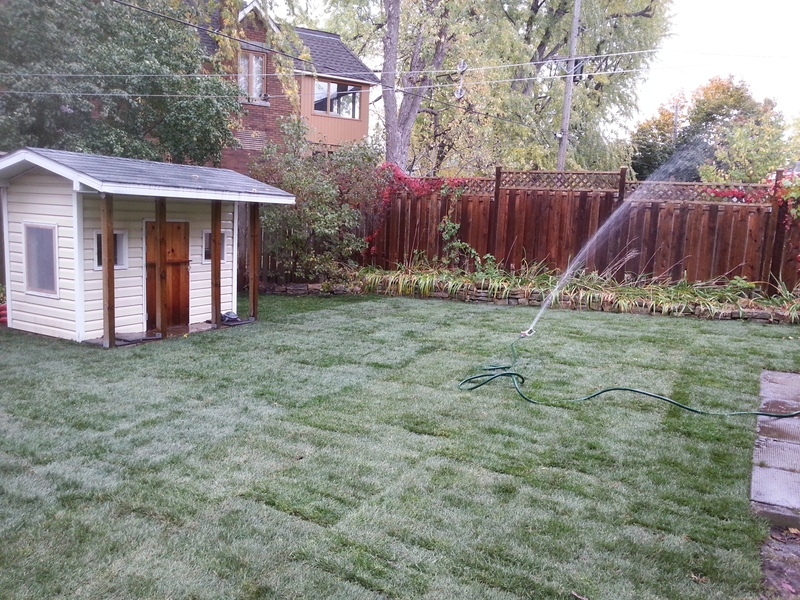
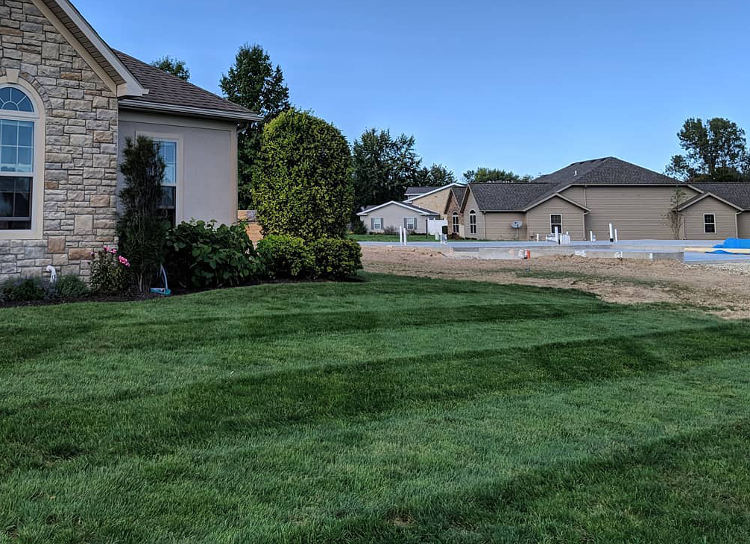
Hire us to re-sod your lawn because we have laid over one million square feet of sod. Our experienced crews use top quality tools and specialized equipment. We use the highest quality, fresh, locally harvested Kentucky Bluegrass sod and screened residential top soil to help ensure your lawn stays thick and green over the long term.
• Lawn Replacement
• New Construction
• Residential
• Commercial
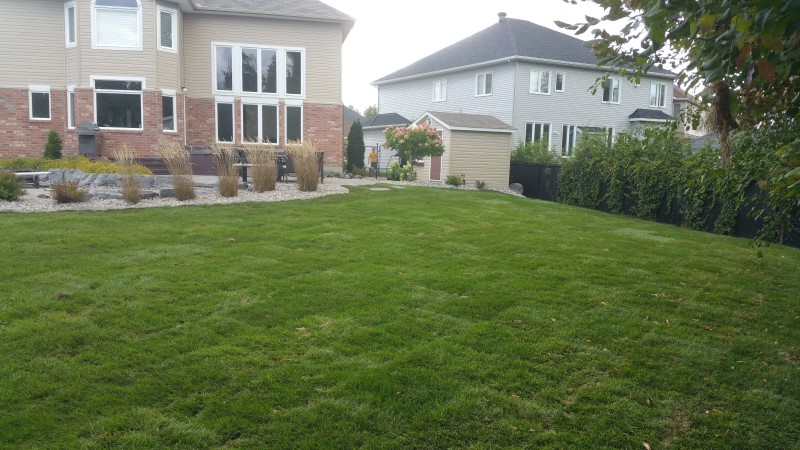
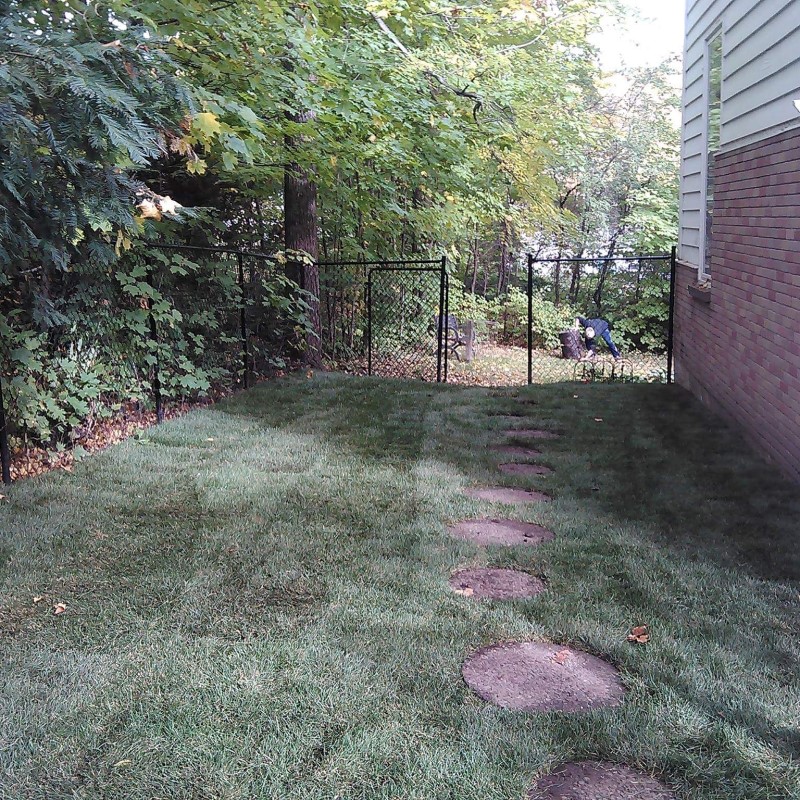
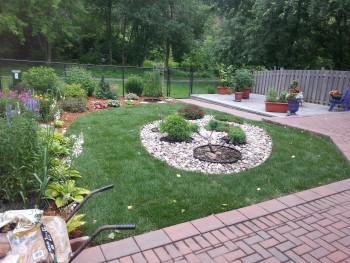
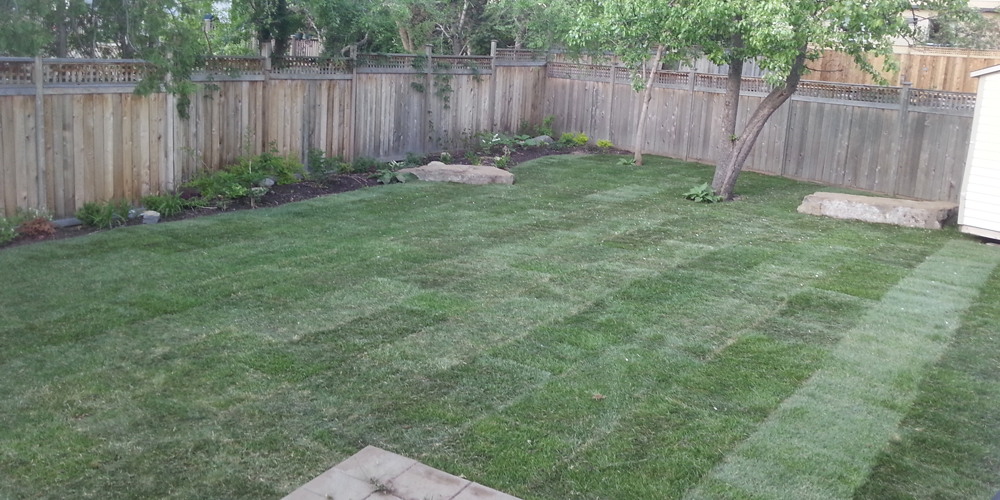
Back Lawn in Riverside South after re-gradding and laying sod.
Request a Free Quote!
Feel free to provide detailed information about your project so that we can respond with a ballpark price.
Our Re-Sodding Process
Grass Removal & Rototilling
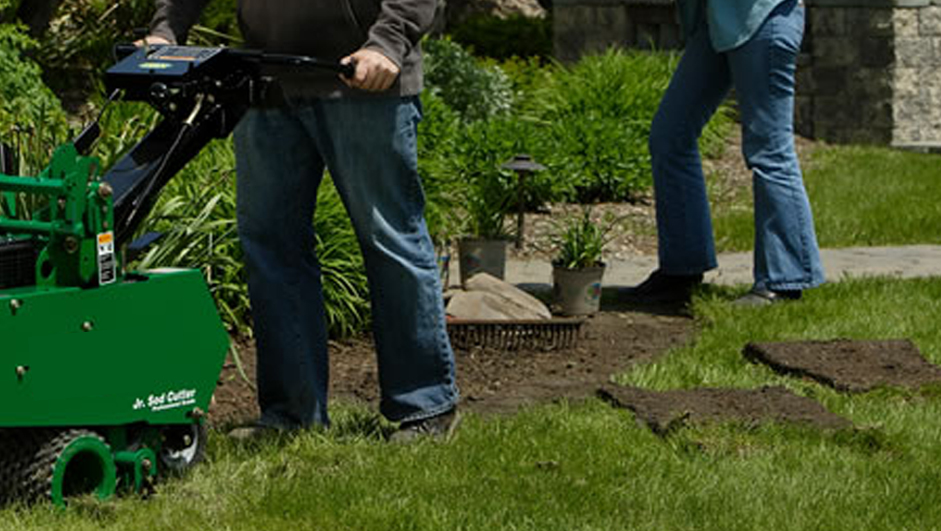
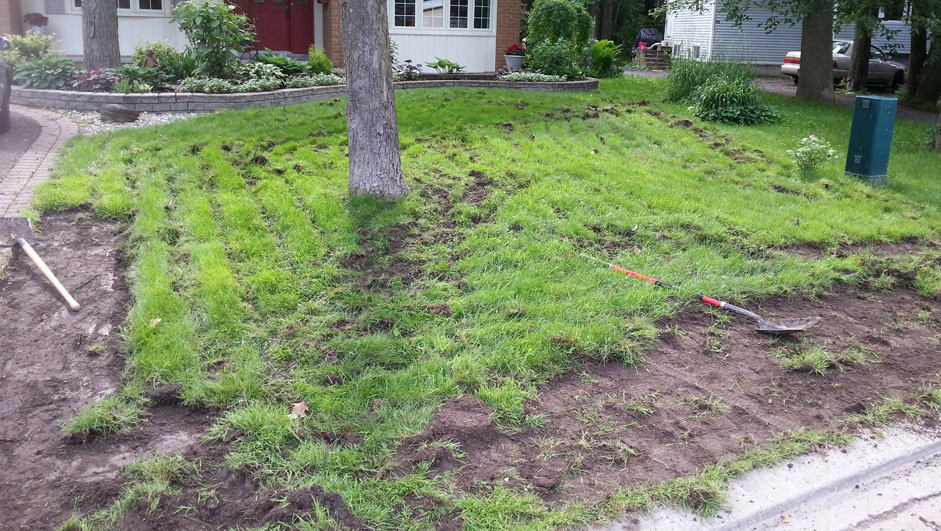
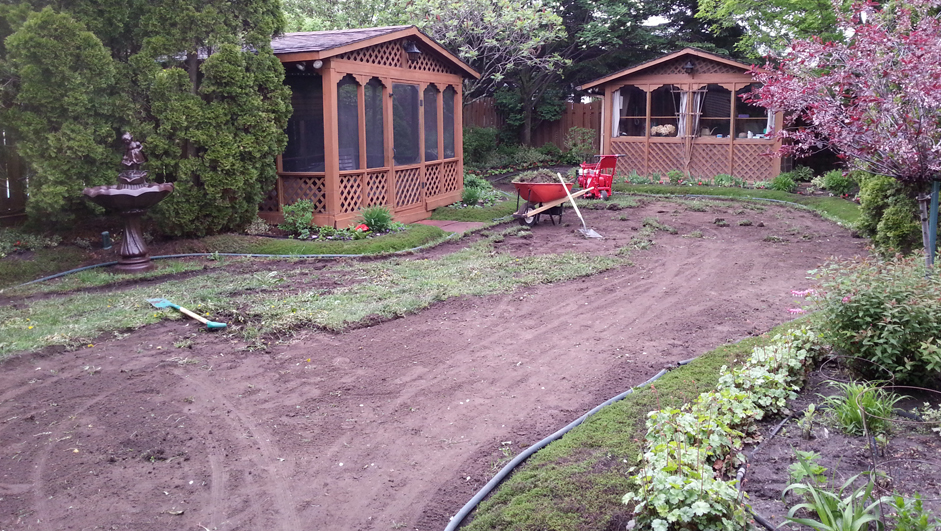
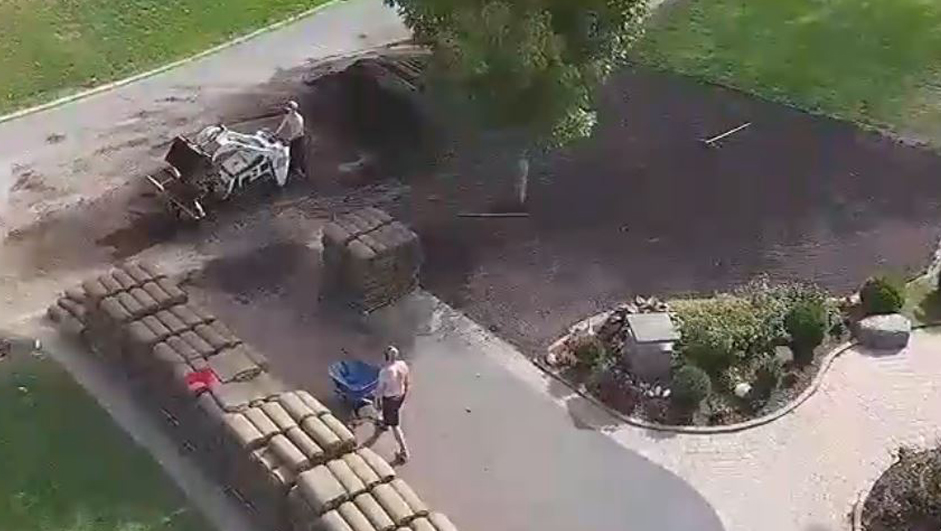
The first step when re-resodding is to remove the old grass. We use a sod cutter that cuts the grass out under the surface at the roots. Next we pick up all that old, unwanted grass and weeds. We use shovels and wheel barrows on lawns with limited access and skid steers where we have sufficient access. We take it all away in a dump trailer or dump tuck. Once every ounce of evidence of the old lawn is gone we rototill the existing soil to aerate it and to bring fresh organic material to the surface.
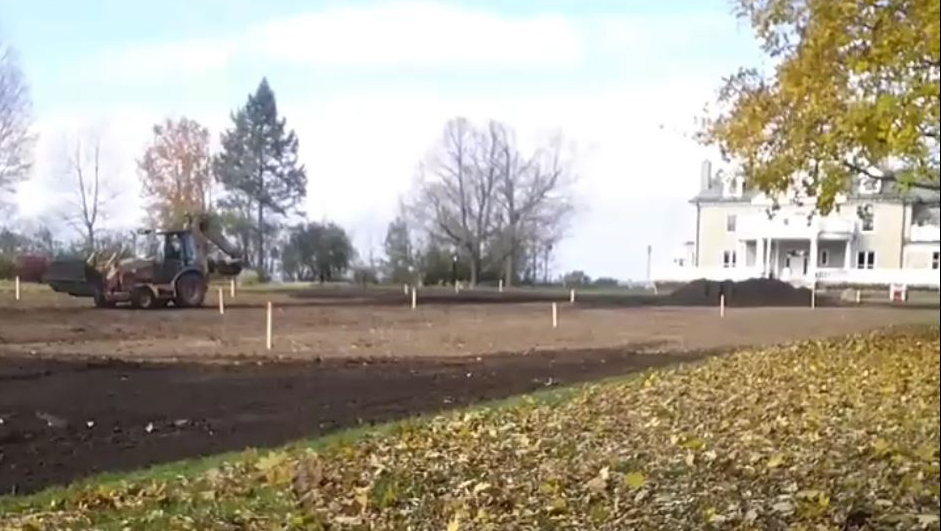
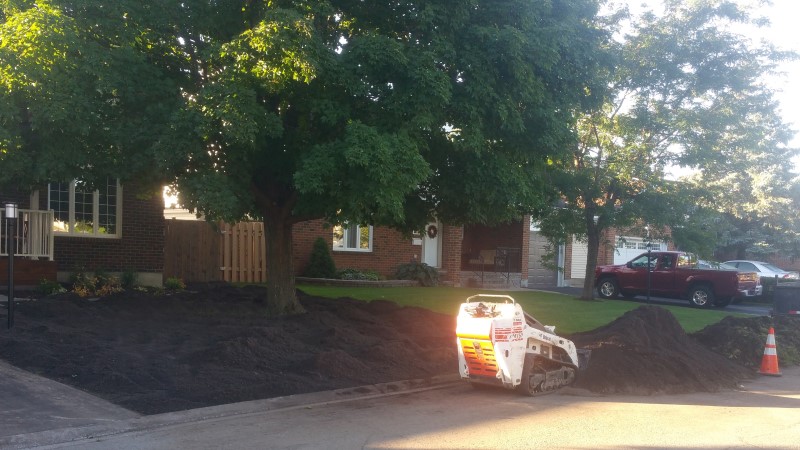
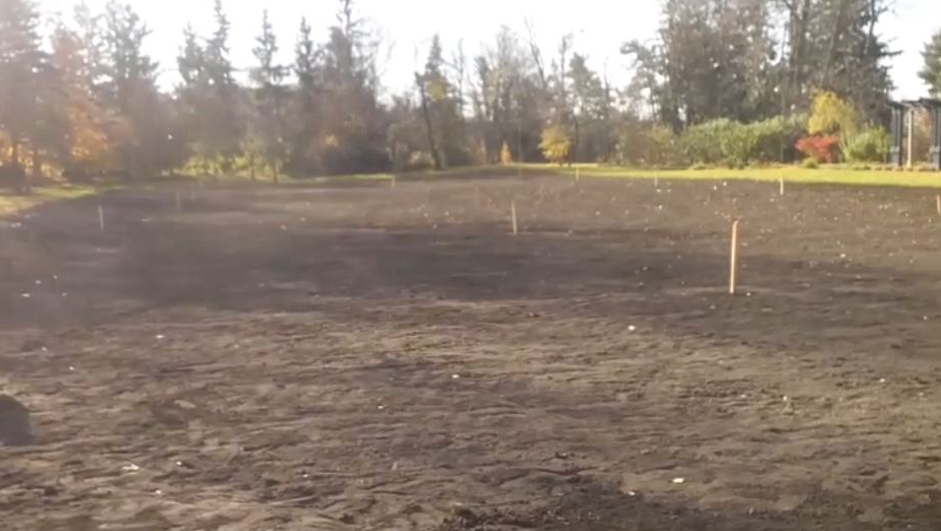
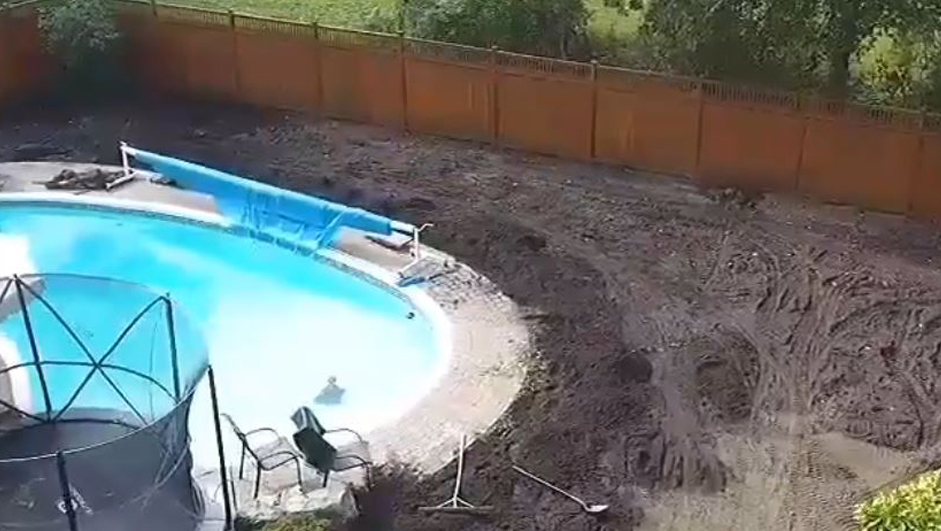
Soil & Grading + Fertilizer
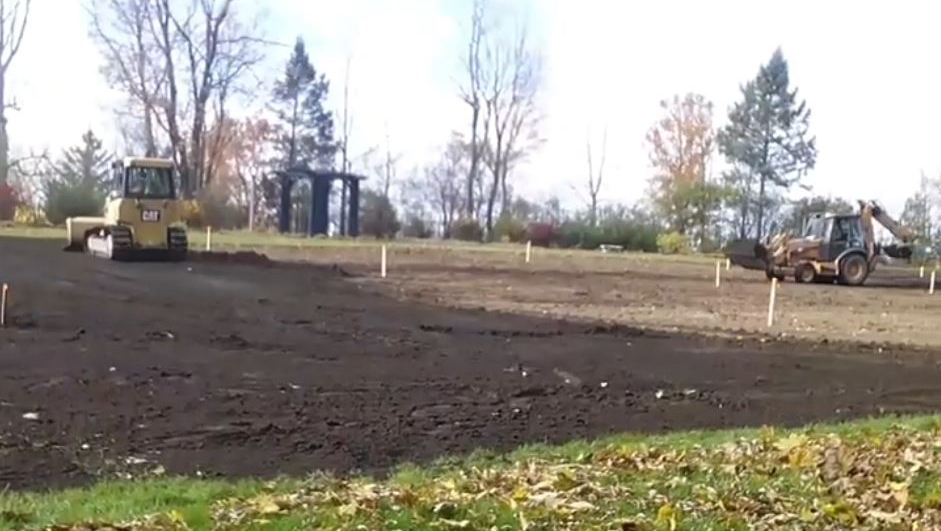
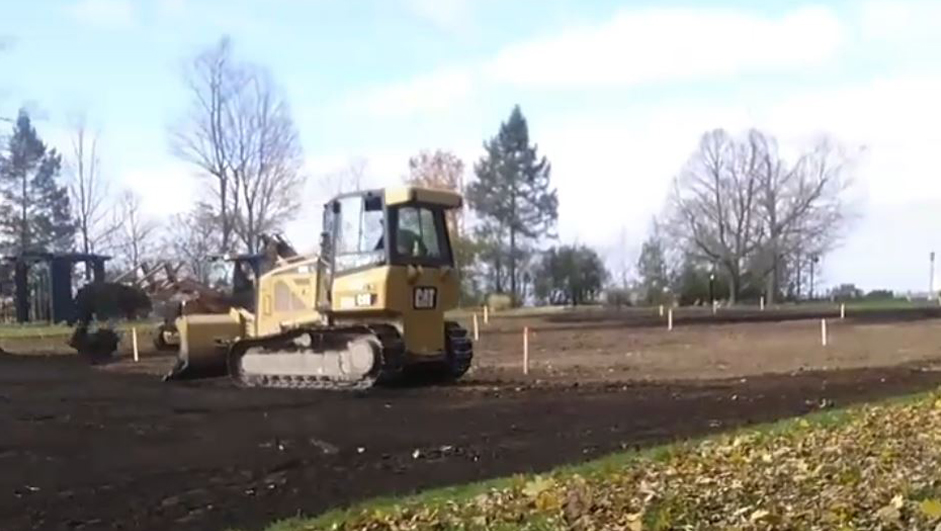
To prepare for new sod we add approximately 3” of fresh, screened, residential top soil. We maintain a proper grade that adheres to any city approved drainage plans and to ensure that water runs away from the foundation of the house. If the current grade needs to be corrected we will add or remove extra soil where needed. Once we have established a proper grade and the soil is even and flat with no bumps or valleys, we compact the soil using a lawn roller and then re-rake to loosen the soil. Proper grading is important because it is the base the lawn will be living on for years to come, improper grading can lead to foundation issues and/or a wet basement. Unevenness in the lawn creates tripping hazzards and also makes mowing difficult. Finally, just before laying down the new sod we evenly spread fertilizer across the whole lawn.
Laying Sod
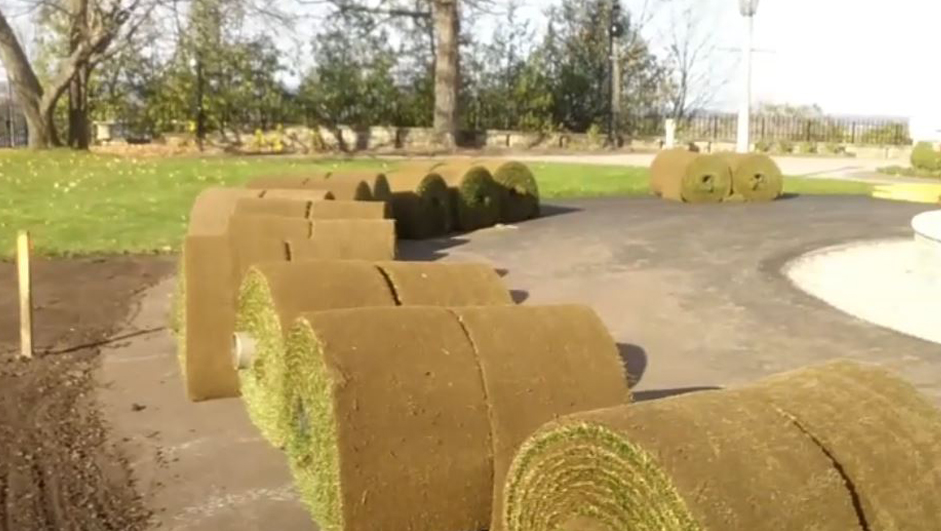
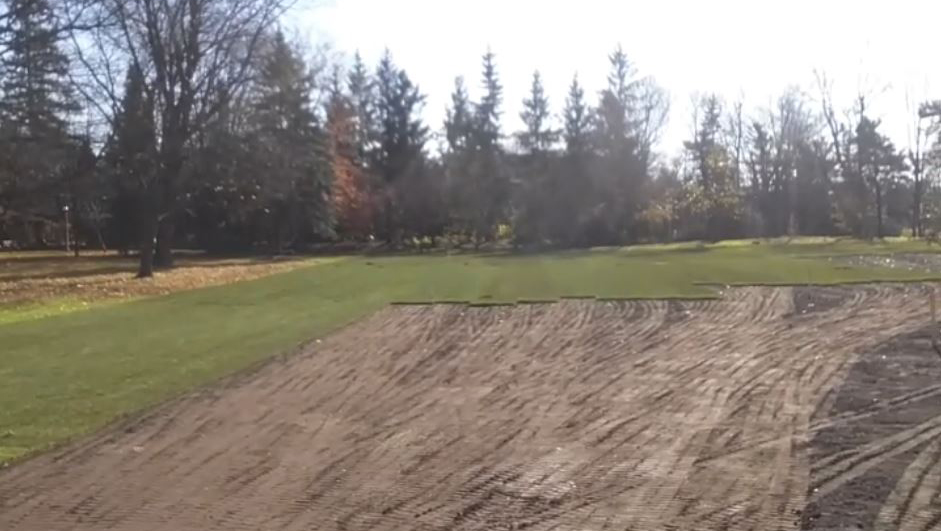
Laying the sod requires attention to detail. It is important that sod rolls are laid perpendicular to the direction of water runoff. Joints in the sod should be staggered so that water runoff is redirectied and doesn't erode the new soil at sod joints. We take great care to make sure that there are no gaps between the sod pieces so they grow together quickly.
Finishing Touches
We precisely cut any pieces that need to be trimmed. The last step is to roll the sod with the lawn roller, this compresses the soil further and helps the new sod mesh with the soil.
Watering
When
Begin watering new sod within a half hour after it is laid. Apply 1 to 2 inches of water so that the soil beneath the sod is very wet. Ideally, the soil 3 to 4 inches below the surface should be moist.
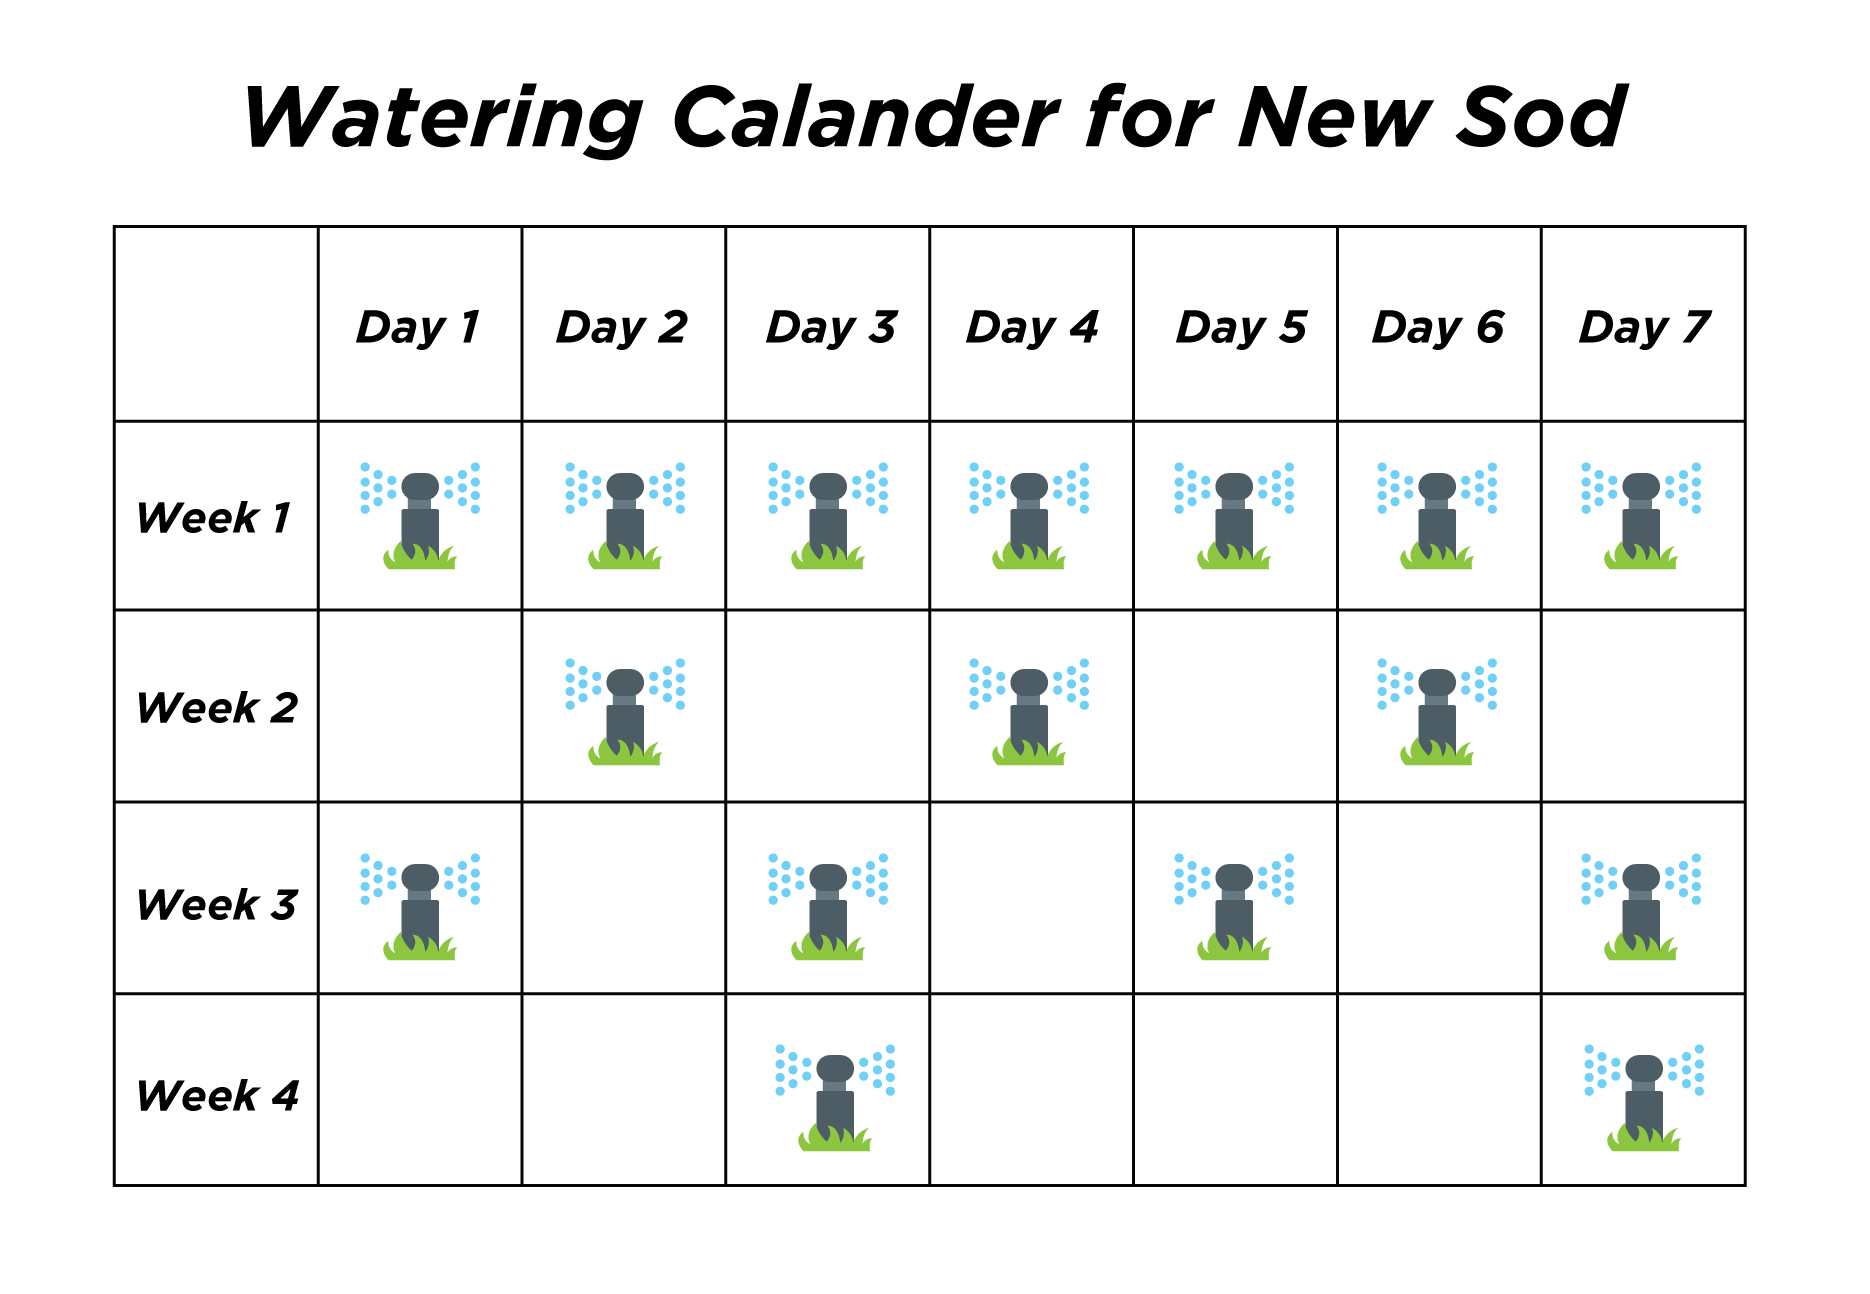
After the 1st heavy soaking continue to water the lawn every day in the 1st week after installation. After the 1st week you can back off the watering a bit to every 2nd day. Water every second day for a week or 2 and if the lawn still looks green you can back off again to a couple of times per week.
Adjust the amount of water you’re applying depending on the weather conditions. In the cooler temperatures of spring and fall apply ½ inch per day but in July and August 1” per day will likely be the best way to go. Also adjust the amount of water you apply depending on how much it rains. Always water in the morning or at night to avoid water loss by evaporation.
How
Watering Tip #1: To measure the amount of water you’re applying put down a few containers (tuna cans are a popular choice) on different spots of the lawn, before you turn on the sprinkler(s). Some containers will gather more water than others so wait until on average, they have collected the desired amount of water.
Watering Tip #2: Pull back a corner of the sod and push a screwdriver or other sharp tool into the soil. It should push in easily and have moisture along the first 3 or 4 inches, or you need to apply more water.
Watering Tip #3: Make absolutely certain that water is getting to all areas of your new lawn, regardless of the type of sprinkler system you use. Corners and edges are easily missed by many sprinklers and are particularly vulnerable to drying out faster than the center portion of your lawn. Also, areas near buildings dry-out faster because of reflected heat and may require more water.
Testimonials
"The process from initial quote to installation day was easy and we couldn't be happier with the end result!"
- L. Wong, Kanata
"I would not hesitate to recommend you to others who want a job well done and in a timely fashion. Thanks again."
- L. Martin, Orleans
"We are so happy with our new lawn and have Crusader to thank for it."
-M. Jennings, Barhaven
"To quote my 5yr old... "our lawn is not prickly anymore... it's super soft". Thanks for all your hard work & great customer service"
- S. Mallory, Stittsville
Related Blog Posts
New Sod Care Guide | Tips & Instructions
Feb. 10, 2025, 7:50 p.m.
Author: conormc
This guide will help to ensure that your new sod gets the best start, takes root quickly and goes onto to thrive in the long term. It is important to start with the proper soil bed, use high quality sod and then water like crazy. In addition we wi...
The Ultimate Lawn Care Guide
March 18, 2023, 11:39 p.m.
Author: conormc
Here is a simple guide for maintaining a beautiful lawn in Ottawa's unique climate. Lawn cutting is by far the most important aspect of lawn care and should not be overlooked. There are a few lawn care tasks that if done at the right time can ...

